Get Started with Simulink Online for Arduino
Simulink® Support Package for Arduino® Hardware in Simulink Online™ enables you to create, run, and deploy Simulink models on your Arduino hardware through your web browser. The support package is preinstalled in Simulink Online. You can access Simulink Online from any standard web browser. For more information, see Cloud Solutions Browser Requirements.
Simulink Online for Simulink Support Package for Arduino Hardware requires that you install MATLAB® Connector™ on your host computer. For more information, see Install MATLAB Connector for Hardware Connectivity.
Make sure that you connect your Arduino board to the same host computer you use to log in to Simulink Online.
Supported Arduino Boards, Workflows, and Platforms on Simulink Online
Simulink Online for Arduino currently supports these hardware boards.
Arduino Due
Arduino Leonardo
Arduino MKR WiFi 1010
Arduino MKR 1000
Arduino MKR Zero
Arduino Mega 2560
Arduino Mega ADK
Arduino Micro
Arduino Nano 3.0
Arduino Nano 33 BLE Sense
Arduino Nano 33 IoT
Arduino Robot Motor Board
Arduino Robot Control Board
Arduino Uno
Arduino Uno R4 Wi-Fi®
Arduino Uno R4 Minima
Arduino RP2040 Connect
Simulink Online for Arduino currently supports these workflows and modes.
Simulation mode
Connected IO mode
External mode (XCP over Serial)
External mode (XCP over WiFi)
Processor-in-the-loop (PIL)
Build and deploy
Currently, you can download and install MATLAB Connector on these platforms:
Windows®
Mac
Linux®
Connect and Set Up Arduino Board on Simulink Online
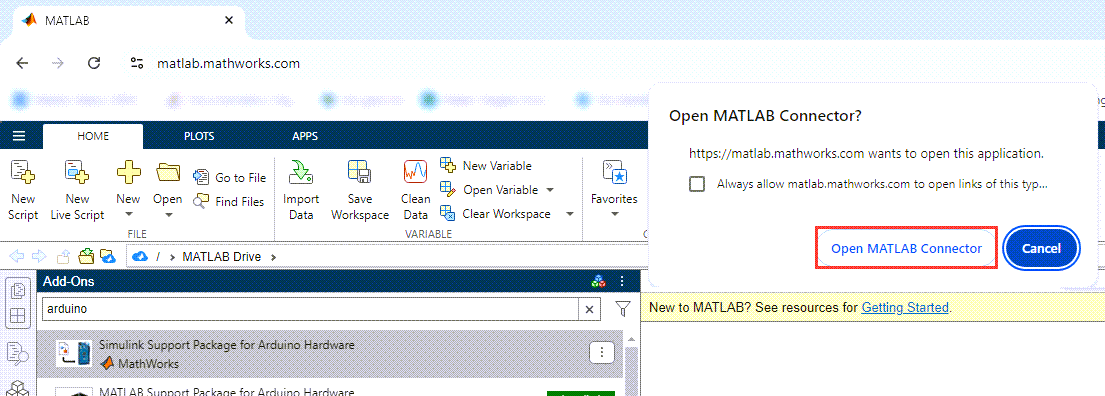
Open a MATLAB Online session at https://matlab.mathworks.com/. Log in with your MathWorks® Account credentials and click Open MATLAB Online.
Once you log in to Simulink Online, follow these steps to launch the Hardware Setup window.
In Simulink Online, click the Add-Ons icon
 in the sidebar to open the Add-Ons panel.
Use the search box at the top of the Add-Ons panel to search for Simulink Support Package for Arduino Hardware or browse the list of add-ons in the Recommended for You section.
Click the Options button
 next to the add-on and then click
Setup.
next to the add-on and then click
Setup.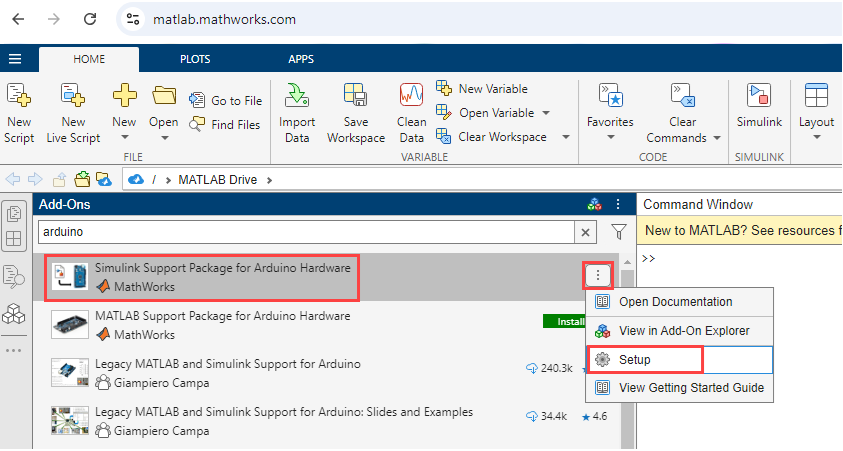
The Hardware Setup dialog box provides step-by-step instructions to guide you as you review third-party licenses, set up MATLAB Connector if it is not already configured, install third-party software, and configure your Arduino board. Follow the instructions on each page of the Hardware Setup window. Note the pop-up notifications that come from MATLAB Connector and allow permissions wherever required.
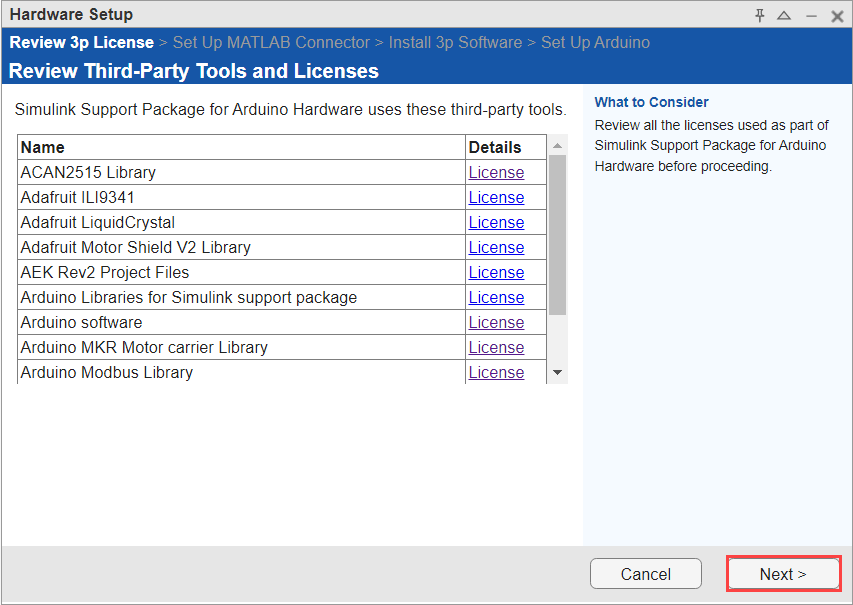
Review Third-Party Tools and Licenses
On the Review 3p License screen, review all the third-party tools, licenses, and cores that the support package includes. All the third-party tools are preinstalled with the support package. Click Next to proceed.
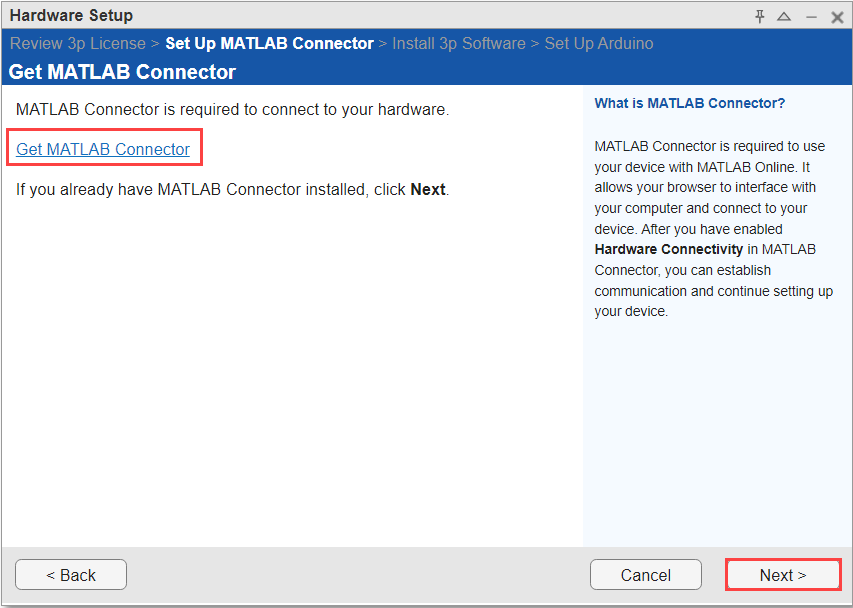
Install and Set Up MATLAB Connector
Use the Set Up MATLAB Connector screen to install MATLAB Connector for hardware connectivity. For more information on MATLAB Connector, click Get MATLAB Connector on the Hardware Setup window.
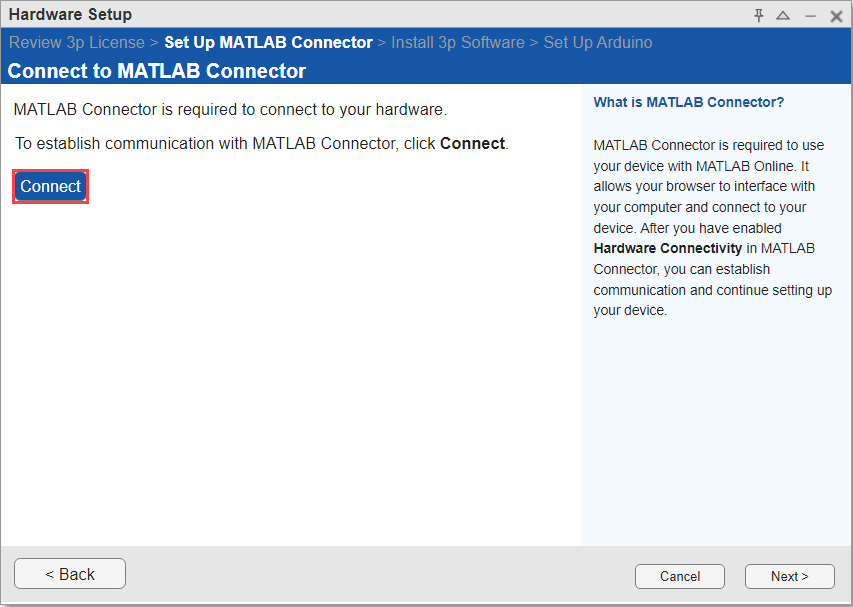
Complete installing and setting up MATLAB Connector. Then, return to the Simulink Online session on your browser.
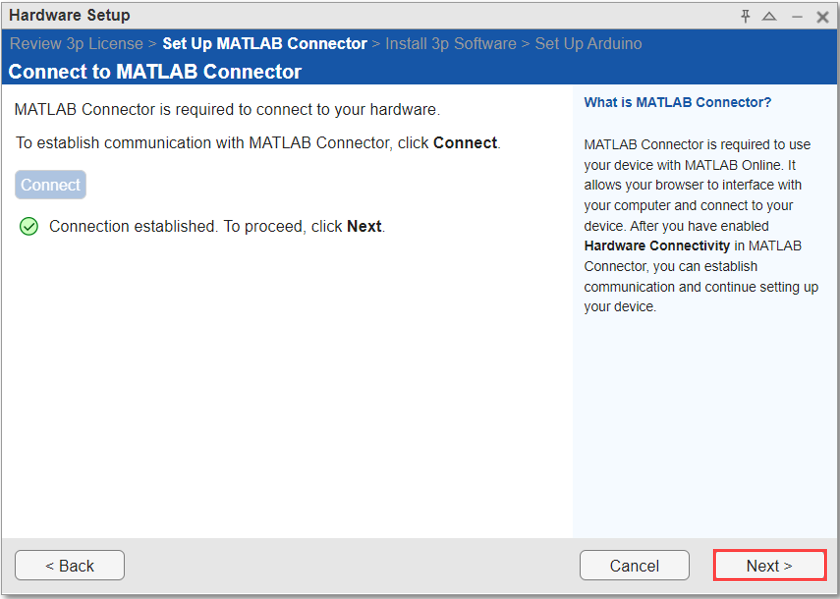
Click Connect to establish a connection between Simulink Online and MATLAB Connector.
Simulink Online displays a notification window requesting your permission to open MATLAB Connector. Click Open MATLAB Connector to proceed.
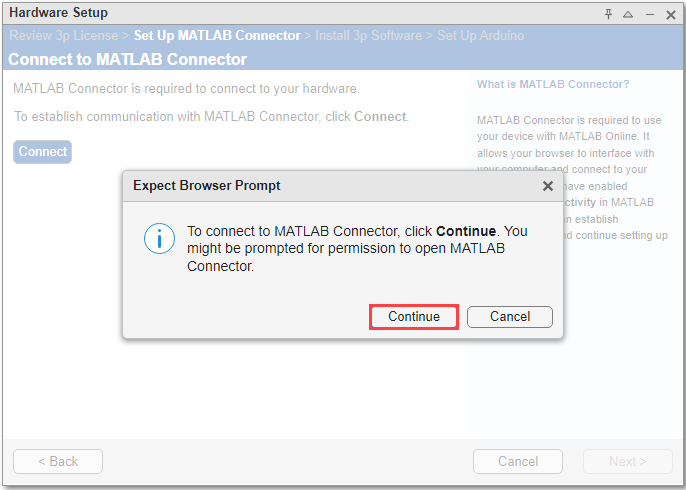
The browser displays a pop-up notification, requesting your permission to connect to MATLAB Connector. Click Continue to proceed.
You should receive a notification window in MATLAB Connector to allow Simulink Online to connect to MATLAB Connector. Click Open MATLAB Connector to proceed.

Click Next once Simulink Online establishes a successful connection with MATLAB Connector.
Install Third-Party Software
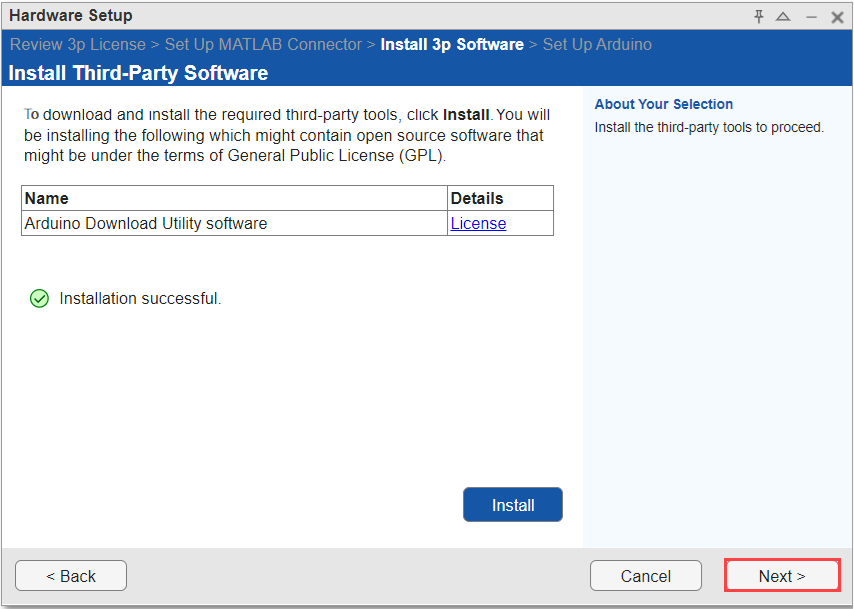
In the Install 3p Software screen, click Install to download and install the flashing tools on your host computer.

MATLAB Connector displays a notification window requesting your permission to install Arduino third-party tools on your host computer. Click Yes to proceed.

Click Next once the third-party software installation process is complete.
Set Up Arduino
Connect your Arduino board and choose your options to complete the setup. The process to set up your Arduino board remains the same in Simulink Online as on your desktop. Note the pop-up notifications that come from MATLAB Connector and allow permissions wherever required. For more information, see Security Considerations for Arduino Simulink Online.
When the hardware setup is complete, open the examples to get familiar with the support package and its features.
Run Simulink Model in External Mode on Arduino Board
In Simulink Online, you can run a Simulink model in XCP over serial mode on your Arduino board.
This section demonstrates the external mode (XCP over serial) workflow in the Get Started with Arduino Hardware example.
In the MATLAB Command Window, open the Simulink model.
openExample('arduino_gettingstarted')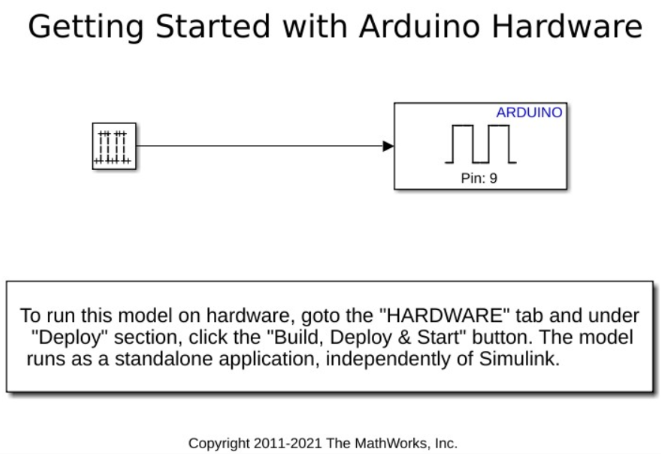
On the Modeling tab of the Simulink model, in the Setup section, click Model Settings.
In the Configuration Parameters dialog box, make sure that the Hardware board parameter is set to the Arduino board you connect to your host computer. For this example, the hardware board is set to
Arduino Nano 33 IoT.Select Target hardware resources and configure these parameters in the External mode properties.
Set Communication interface to
XCP on Serial.(Optional) If you encounter any XCP workflow errors in the external mode or if your connection is slow, try increasing the polling time. Set Set XCP target polling time to
Manually. Set Polling time (in seconds) to a value greater than2seconds. For more information, see Troubleshooting Issues for Arduino in Simulink Online.
Select Apply > OK.
On the Hardware tab of the Simulink model, in the Mode section, click Run on board.
In the Run on Hardware section of the Simulink model, click Monitor & Tune.
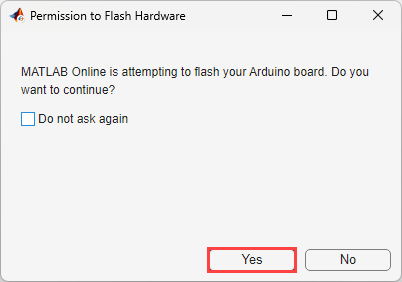
Give Simulink Online permission to flash your Arduino board by clicking Yes.
Give Simulink Online permission to access the serial port on your Arduino board by clicking Yes.

Observe that the LED on the board blinks with a time period of 1 second.
See Also
Security Considerations for Arduino Simulink Online | Limitations for Arduino Boards in Simulink Online | Troubleshooting Issues for Arduino in Simulink Online | Install MATLAB Connector for Hardware Connectivity | Install MATLAB Connector for Hardware Connectivity | Use MATLAB Connector to Connect to Hardware | MATLAB Connector Preferences and Account Information